Pages

Showing posts with label Clutter Free Me. Show all posts

Monday, October 22, 2018

One Last Declutter for the Garage

This summer we did one last decluttering of our garage (it stays quite cool in there so it is a good place to work when it is hot out).  It was in pretty good shape to start out but needed some tweaking.


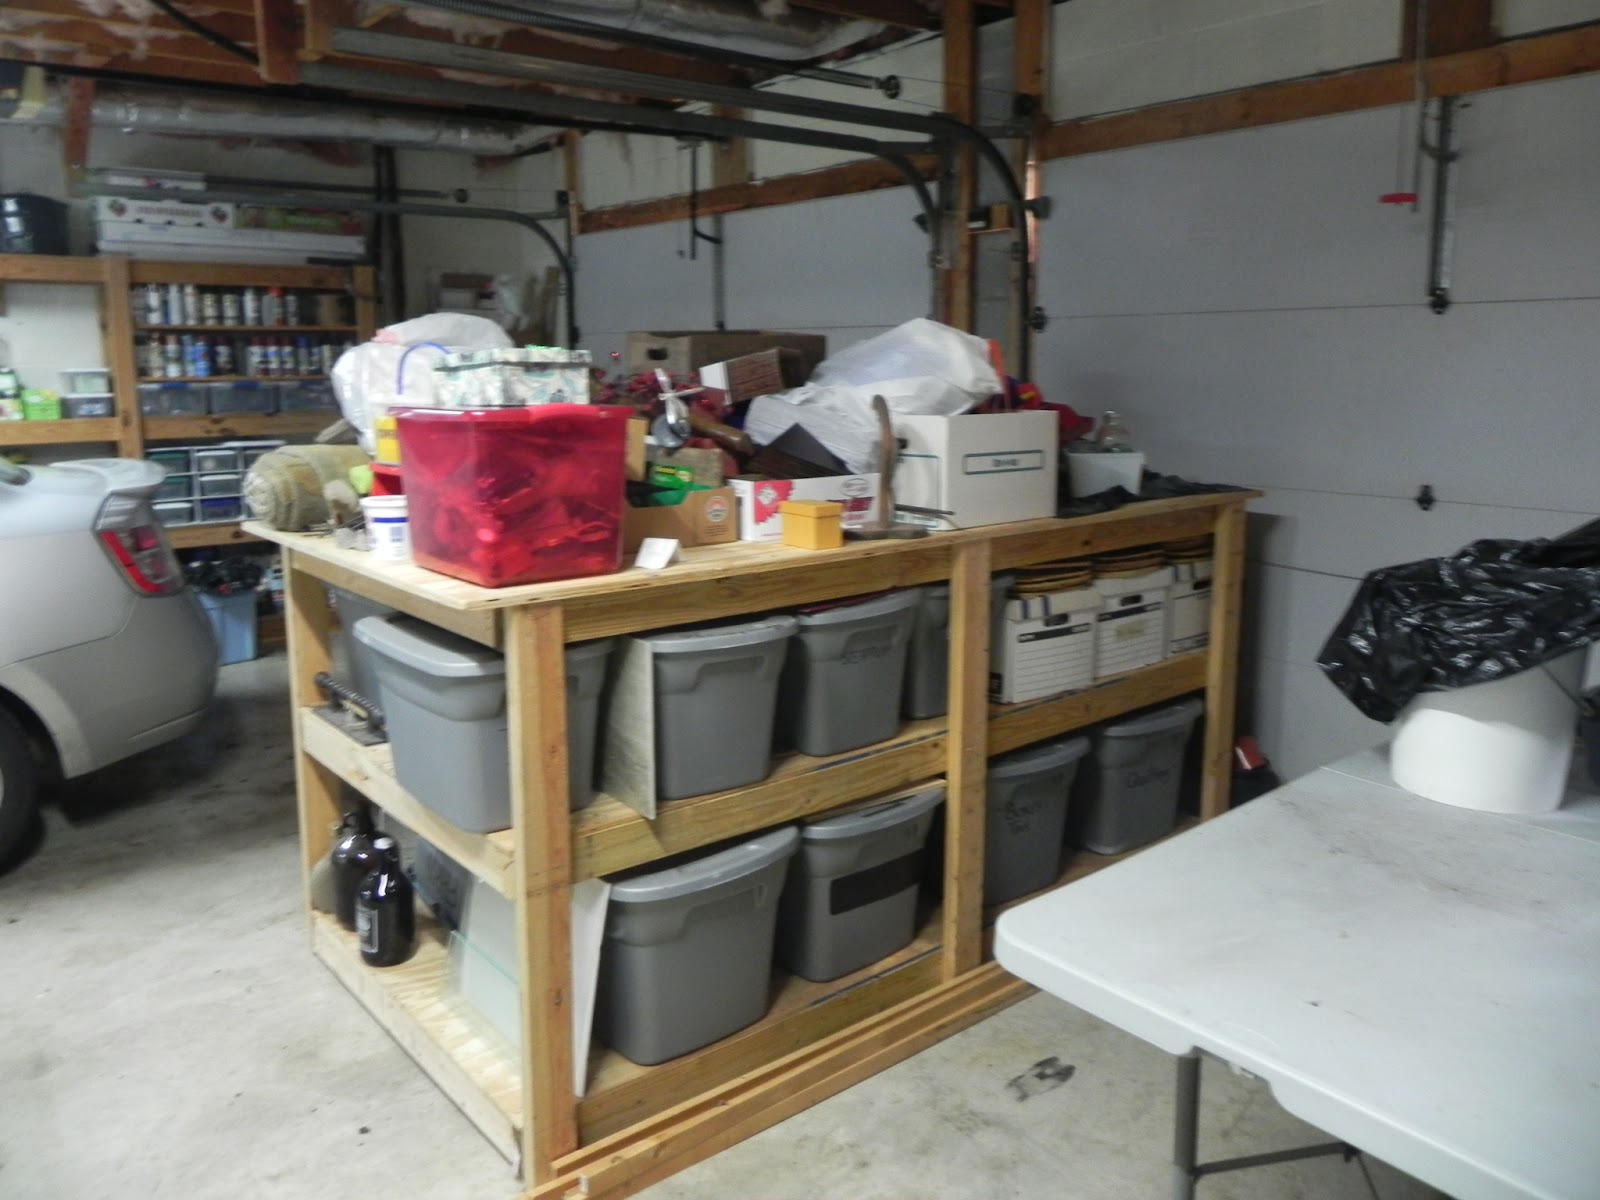
My workbench was the problem child area.  The top had become a dumping ground.  And the tubs of creative material (stash) had not been gone through in a long time.


That has been taken care of.  The ladder rack of drift wood/boards is waiting for cooler weather as I need to empty it and wash what wood I am going to keep.


Himself cleared up the supply shelves enough that we have open space!  Now I can bring down some supplies that are stored upstairs to free up room there.


The area to the right is for recycling and mailing supplies.  (Himself hadn't taken the recycling out in a while... looks much better now!).  Need to do something different with my mailing stuff.  Working on ideas for it.


Himself's stash.  On top are things I need to fix.  A lot of it needs a bit of gluing but I find the odor of E6000 glue so nasty I'll only do it outside.  And it has been too hot for that for months!


And everything else.  Not necessarily "pretty" but organized and functional.  Hey... it's a garage!


Tuesday, March 6, 2018

Dealing With Photographs

2018... the year I'm finally going to get my photos dealt with!  

For my photo prints I am using a method called "speed scrapbooking".  

You start with a standard pocket photo album.  I get mine at TJ Maxx/Home Goods.  This type holds 500 photos in 4x6 pockets and only cost about $15.


My first album was for my mission trip to Mexico in 2006.


In speed scrapbooking you cut your memorabilia (or a color copy of it) to fit in the 4x6 pockets.  On the right side is an 8.5x11 piece of paper.


Photos and memorabilia fit in... just make sure you leave space to journal too!


Having a page about where you eat is fun.  The bottom right is a wrapper/label from a soda I really enjoyed.  It spans across 2 pockets.

(Oh, the journaling is done on paper from the "Kid Zone" at the medical clinic we set up.)


Kid Zone


Some of the better drawings the kids made.


You can get all sorts of shapes to fit with a bit of trimming.

This is a fast and inexpensive way to get your photos into an album.  No more traditional scrapbooking for me.

For my digital photos I am using a self publishing book service called "Blurb".  You download the free program that you can use to make several types of books.  The templates make it very easy to use.  There is the option of soft cover or hard cover.  Best part... it is pretty inexpensive.  WAY cheaper than the other photo book purveyors and traditional scrapbooking.  

One major trick with Blurb... wait until they offer a 40% off coupon!

I've done quite a few books with Blurb and have been very satisfied with their service.


The first photo book for 2018... our trip to Scotland in 2011.


Memorabilia can be scanned so you can include it.


There are many different layouts for the pages.


The full pages photos come out beautifully.  The program checks you resolution and lets you know if it is too low for the size.


You can have pages with just writing so to tell a story.


One of our B&B lodgings.


While the book is in chronological order, I broke out several stories I wanted to tell.


Pages about things that are the same are good too.  Here is one of the fun signs we encountered.

So, this is what I'll be doing all year with my photos.  I'll be able to finish the digital photos by the end of the year.  However the prints will continue to be worked on into 2019.

But I have started and that is the big thing.


Monday, March 5, 2018

A Place of My Own

Getting my creative space KonMari decluttered and organized lined right up with "National Craft Month" (March).  


I was very heavy handed reducing my stash down to only things I really like.  This photo is an example of that.  Everything that had been in those 3 red containers was reduced to the one grey container.


This is the 'workshop' area of my studio.  It holds only stash that I will actually use.  It's rather plain right now... decorating will come later and at my leisure.

Going around the workshop area from the far left and moving clock-wise...


Scrapbook and journal book making supplies.  Plus supplies for mixed media projects.


The hutch has tools, paints, and misc creative bits and bobs.  The wall shelves hold cook books and specialty cooking items that don't need to be in the kitchen.


Closer looks at the hutch.


This dresser holds my sewing notions and some fabric.  There is still a lot of work here... a wall treatment and hanging of decorations when that is done, building two book cases to flank the dresser, and doing a makeover of the dresser.


The wall of hobbies.  There are a lot of different supplies and projects here.


Bottles to alter.


My jewelry making supplies.


Quilting projects.


Stash!


Now the other side of the room...


"Library and Office"

The dresser holds office supplies of various sorts.  What I'm going to do with the cubbies is still being figured out.


My bookshelves.  The white boxes are all photos that will go into albums.  I'm working to do a new album each month.


And my sitting area.


Behind the chair on the right of the above photo is a closet that stores my frames, canvases and a few other large items.

So there you have it.  I am ready to start creating!


Saturday, January 6, 2018

The Great KonMari of 2018

Did you know that January is “Get Organized Month”?  So it is fitting that this is the month I do my second KonMari decluttering.  I’m starting to see too many things that are NOT bringing me joy...

By serendipity a few months ago I found a Face Book group called Nourishing Minimalism Yearly Decluttering Challenge with the challenge (at the time) of “2017 in 2017”.  The group’s goal is for members to declutter out 2017 items in the year. 


I came late to the dance so I’ve been waiting for this year’s challenge of 2018 in 2018.  Well... truth be told... I started my count down on 15 Dec and I will work thru to 14 Dec 2018.  I got tired of waiting.

As with any group, there are members who are seriously working on it and there are those who are playing mind games with themselves (like counting EACH piece of paper or individual twist tie they declutter).

Decluttering for me means that an item is removed from my household.  It can be trashed, recycled, donated to charity, or given away... it just does NOT live here anymore.  Nor will I be obsessive in ‘getting rid of’.  Teri’s idea of minimalism is not ‘Spartan’... it is ‘cozy’ and 'can find what I am looking for'.

So I am playing with a stricter set of rules... ones that will mark real results. 

1. It has to be a real physical object.  No digital photos or electronic files.  (Sheesh... I’d be done 500 times over by the end of this month!!)

2.  No counting individual pieces of paper or photos.  I weighed a ream of paper and found that 1 pound is a third of an inch stack.  That is a good measurement and easy to figure.  So one pound is "one" item.

3.  Normal trash from daily living does not count.

4.  An item that broken and was replaced does not count.

5.  Something that comes in quantity (such as a box of nails) counts as one item.


I wonder when I’ll hit my 2018?


Sunday, May 28, 2017

I Need Power (Cords)!

Almost didn't get my May Home Kit done... I forgot about it!

We all have a stash of extension cords.  And I bet yours is probably pretty much like mine were; a tangled mess of indeterminate lengths.  Did I hit that nail on the head?


Himself and I gathered up a pile of all the cords we could find.


Next step was to measure them.

On the white cords I wrote the length right on the receptacle with a Sharpie.  For the dark cords, I made a masking tape tag to write the length on.  (When I get a new silver Sharpie, I'll write on those dark cords too.)

Then the small ones were put into gallon size Ziploc by type or size.  The larger ones stayed loose.


Last step was to drop them all into one tub that fits in our tool shelf.

Done!


Sunday, April 9, 2017

Before & After: Attic Makeover Present

Himself gave me quite a gift last month.


He took this ugly cruddy "finished" portion of attic and fixed it up so I could store my creative stash.  I just had too much bulky stuff to keep it all in my studio.


He used a bunch of my leftover boards from other projects, plus what I call my 'scrippy-scrap' pieces to put in a new floor.  It was a whole lot of hours wearing a respirator while bent over on padded knees to get the job done.

Might I had it was usually pretty warm up there too.


This is the side we keep the 'quick grab' stuff that we need to get to quickly...when we need it.  Things like the extra coffee pots when we have a bunch of people over and so on.
(The upside down tub means it is empty)


Here's the other side with general storage.  I added the pool noodles to the rafter braces to keep from knocking our heads off when we forget to duck.  They work great!

I love having the space to store things out of my office!

Thanks Hubby!  What an awesome Valentines gift!